Browsing through Katerina’s inspiring Culinary Flavors and looking for meat meal ideas, I saw these gorgeous souvlaki. I thought they would be my next meal, but then I noticed the…
Browsing through Katerina’s inspiring Culinary Flavors and looking for meat meal ideas, I saw these gorgeous souvlaki. I thought they would be my next meal, but then I noticed the…

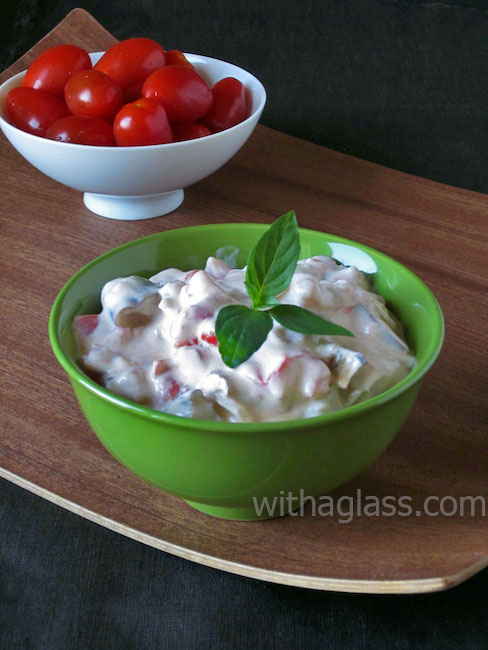
Have you ever wondered what to do those with beautiful garlic heads you see in spring on farmers’ markets? Roasted garlic spread is apparently the best when…
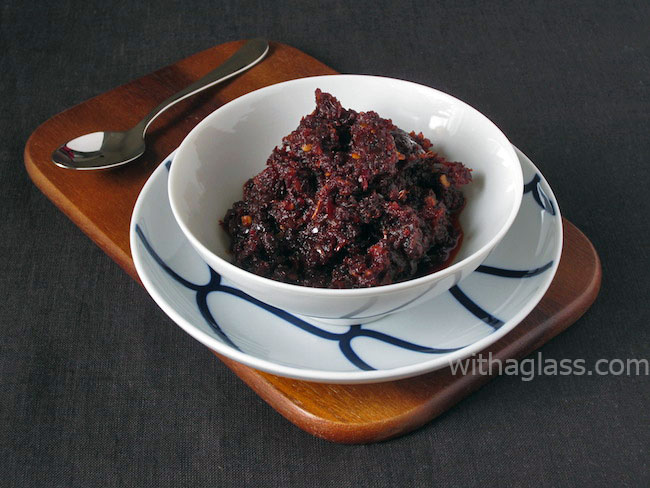
Even if you have tasted lots of different chilli preserves, pickles, jellies or sauces, you will still be blown away by the extraordinary richness of flavours of this…

MJ, the specialist of New Mexican cuisine and a living encyclopaedia of local chilli (called chile in New Mexico) lives far far away from me, but…
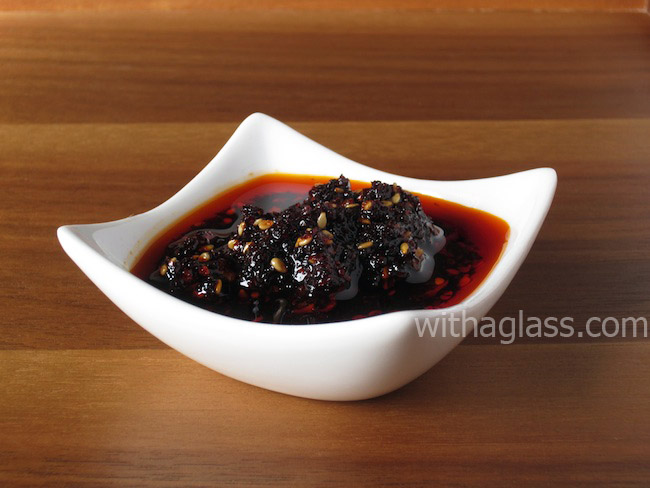
If – as I have heard several times – you also think that dried chillies can easily replace fresh ones, you would certainly change your mind after tasting this…
I am a lazy cook. If I prepare something regularly, you can be sure that at a certain point I will try to simplify the…

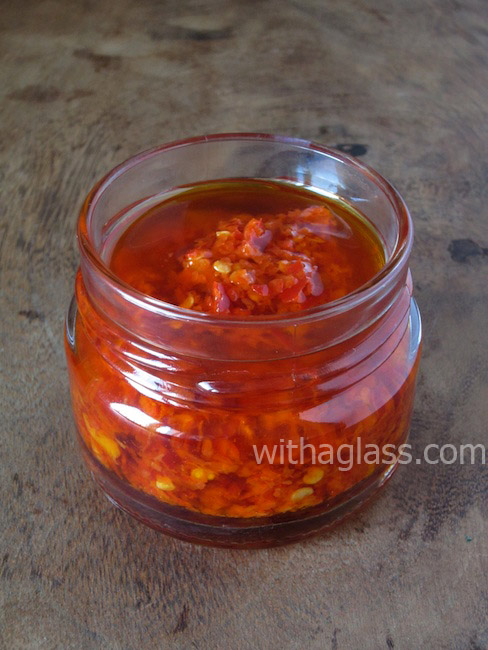
I still remember the fantastic aroma and taste of my very first homemade Yuzu Koshou. For those who have never heard about this Japanese product,…

As I have mentioned, I brought lots of food products from my September trip to Japan. Among them was a dozen of marvellous fragrant yuzu…

My busiest pickling and preserving period hasn’t arrived yet, but these effortless salt pickles can be prepared practically at any time of the year. I…

Have you ever bought a food product which tasted good but you had no idea what to do with it? It happens to me regularly,…