
Have you ever tasted ginkgo nuts? Ginkgo biloba tree has become famous all around the world for its health benefits, but it’s not widely known…
Have you ever tasted ginkgo nuts? Ginkgo biloba tree has become famous all around the world for its health benefits, but it’s not widely known…

I whined all summer about this year’s poor chilli harvest due to the horrible weather, but I’ve cheered up in recent weeks; with medium daytime…

I was taking my Saturday morning coffee in bed (alright, I will be honest: it was closer to midday, but it was my wake up…
I literally grew on dill (ubiquitous in Poland, it’s even more important than parsley), but never considered it much more than just an ordinary everyday…

I go to my favourite big farmers’ market every second weekend. The whole return trip together with the shopping process takes several hours, but I…

There are so many Japanese potato salad recipes on blogs and websites, often written by Japanese cooks, I hesitated a lot before posting it, but…

Do you ever cook anything in the microwave? I mean from the scratch? For many years I used it only to reheat and defrost, probably…

Did you know not only the rhizome, but also wasabi stems and leaves are edible? I learnt it several years ago in an izakaya (a…

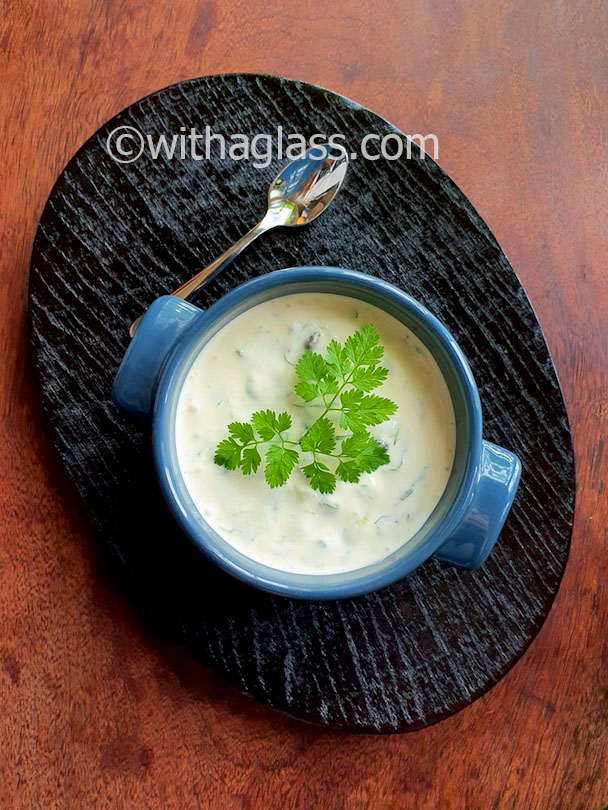
It’s only the beginning of May, but I already face the over-abundant herb “problem” with some perennial plants. Chives, mint, parsley, thyme and tarragon have…

After several trips to Japan I learnt good gyoza aren’t easy to find in Tokyo. Maybe I was unlucky or maybe it’s Tokyo, but I…