
Have you ever made a poundcake? It’s one of the easiest, if not THE easiest cake I can imagine (but I mean the real poundcake,…
Have you ever made a poundcake? It’s one of the easiest, if not THE easiest cake I can imagine (but I mean the real poundcake,…

You might have noticed I rarely write about sweets. It’s not because I avoid sugar (my will wouldn’t be strong enough anyway!), but simply because…
The two weeks of my yearly Japanese trip felt like barely two days… but going back to the “normal” life took me much longer than…

This was one of earliest recipes on my blog. Some time in 2011. It seems an eternity…. The photograph screamed for an update, so when…

Throughout the years I have posted many versions of this refreshing yogurt mousse, my favourite guilt-free dessert. Apart from yogurt, it usually includes fruits, gelatine and sometimes…
So simple and soooo good! I wish I could say this more often about the dishes I love… I made this improvised sweet treat last weekend…

Spring has been particularly cold this year and strawberries (I mean the edible ones) are late, so I keep on buying other fruits. A week ago I…
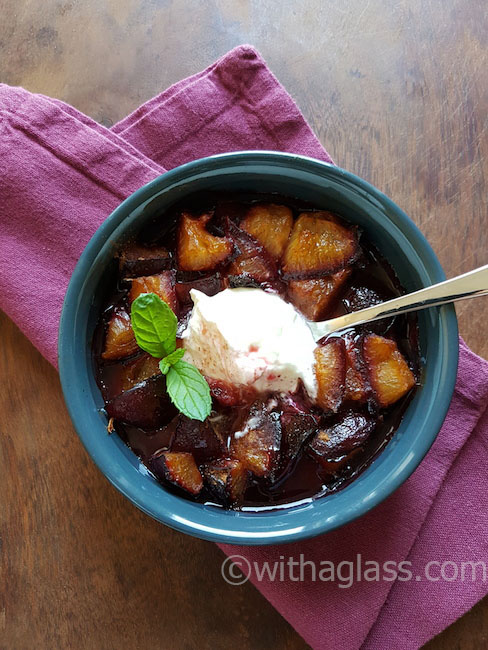
If most of your Christmas dishes are time-consuming or difficult, the last thing you need to complicate your life with is an elaborate dessert. Leafing through my…
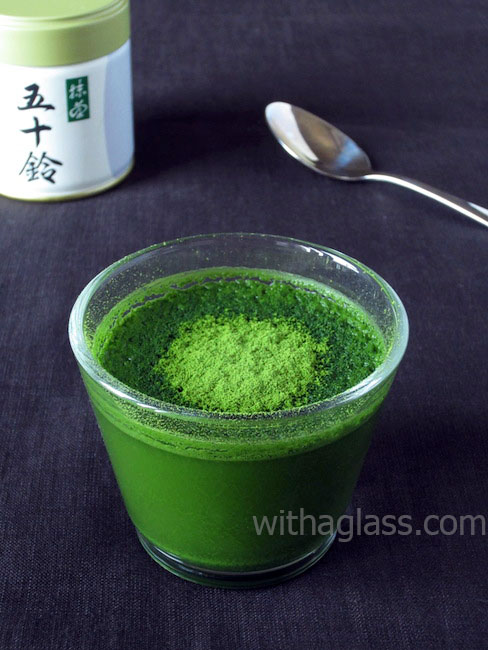
The weather during my first two September trips to Japan was surprisingly hot and the humidity level unusually high, especially for a European. I soon discovered the best…
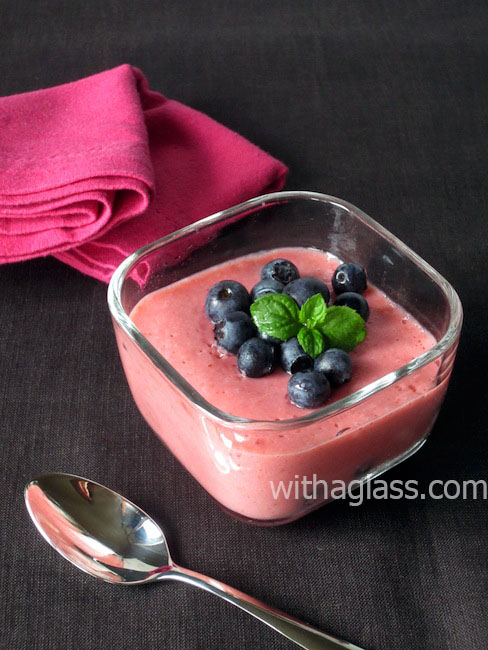
Setting a mixture of yogurt and fruits with a reduced amount of gelatin was a breakthrough in the sweet part of my cooking. Such a tiny change allowed…