
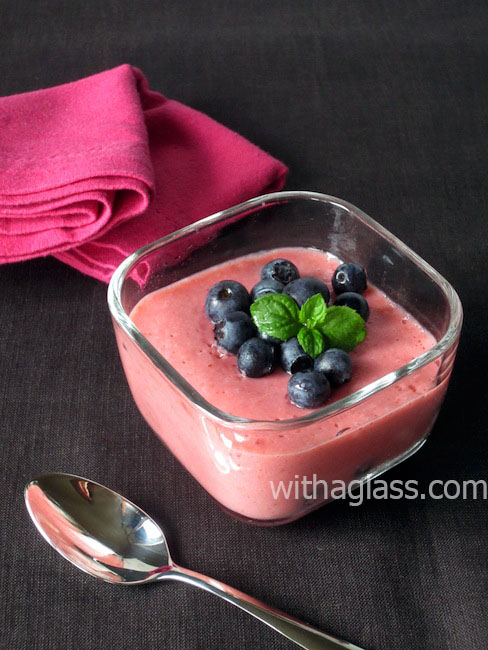
Throughout the years I have posted many versions of this refreshing yogurt mousse, my favourite guilt-free dessert. Apart from yogurt, it usually includes fruits, gelatine and sometimes…
Throughout the years I have posted many versions of this refreshing yogurt mousse, my favourite guilt-free dessert. Apart from yogurt, it usually includes fruits, gelatine and sometimes…
So simple and soooo good! I wish I could say this more often about the dishes I love… I made this improvised sweet treat last weekend…

Spring has been particularly cold this year and strawberries (I mean the edible ones) are late, so I keep on buying other fruits. A week ago I…
Setting a mixture of yogurt and fruits with a reduced amount of gelatin was a breakthrough in the sweet part of my cooking. Such a tiny change allowed…

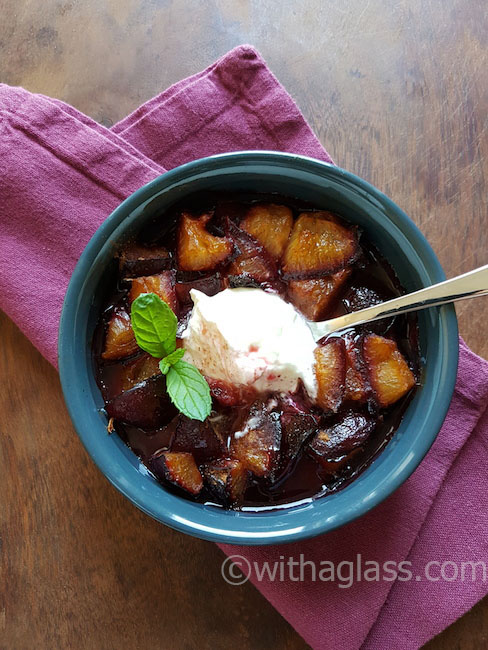
This shapeless piece of tart might look quite ordinary, but it’s one of the best baked sweet treats I have made in years. Wondering what dessert might bring…

If your only idea of a perfect sweet treat is a thick slice of a rich, frosted cake, then you might not appreciate this post. If, however,…

This year, thanks to favourable weather conditions, cherries have appeared in France and Switzerland early, so I have been enjoying them for quite a long…
A cute colourful mini-tart with delicate buttery crust is what comes first to my mind when I think of the magical world of French pastry. I have always particularly appreciated…

Whoever invented canned peaches, was a genius. Unlike pineapple or litchi, I never see them as poorer – and sickly sweet – cousins of fresh…

Before you start yawning, seeing a second truffle recipe in a row, I must assure you I have a very good reason for that. These…