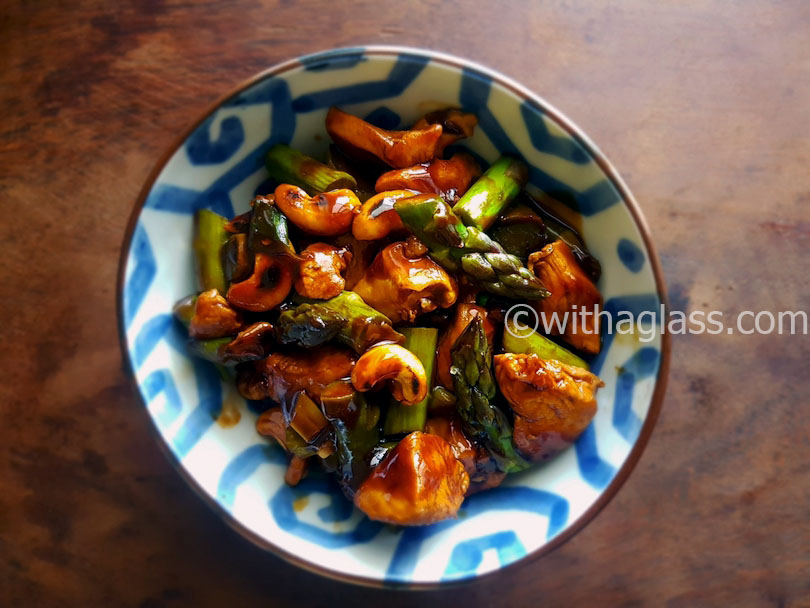
When I was younger I used to think of asparagus as an extremely fragile luxurious produce that had to be cooked as simply as possible,…
When I was younger I used to think of asparagus as an extremely fragile luxurious produce that had to be cooked as simply as possible,…

I know it’s springtime, everyone is thinking of salads and other light dishes, but this Sri Lankan curry is so extraordinary, I had to write…
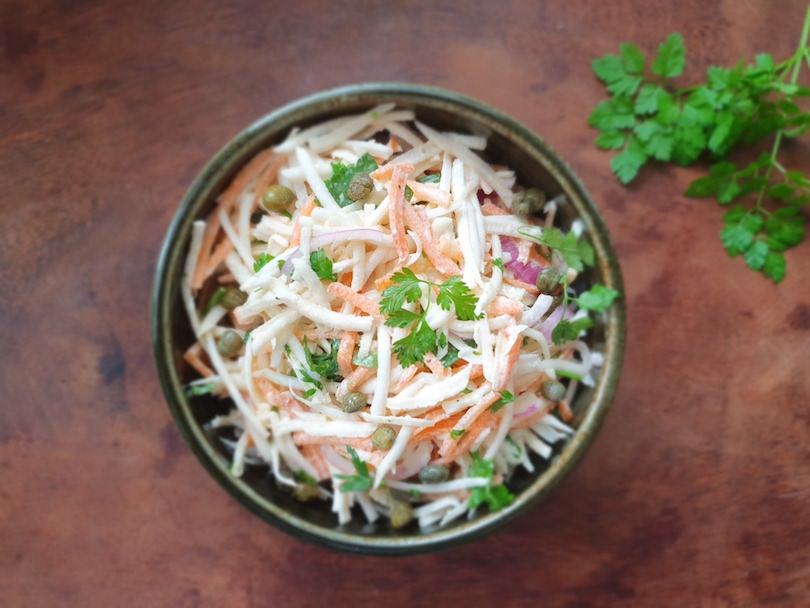
Another recipe inspired by this spring’s harvest from my balcony! Celeriac might be a winter/autumn vegetable, but this salad is fresh, crunchy, full of different…
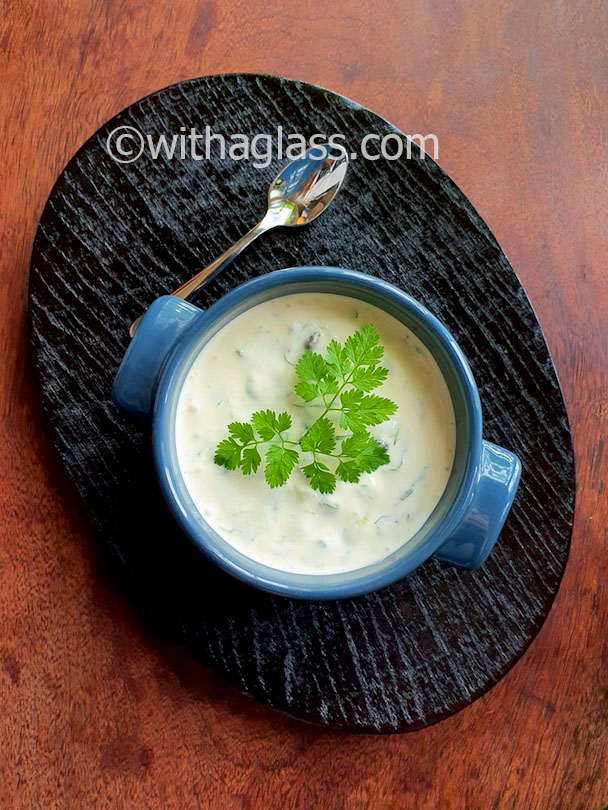
I literally grew on dill (ubiquitous in Poland, it’s even more important than parsley), but never considered it much more than just an ordinary everyday…

Have you ever made a poundcake? It’s one of the easiest, if not THE easiest cake I can imagine (but I mean the real poundcake,…
I don’t know if a can of chipotles adobados/en adobo (smoked chillies in adobo sauce) is used by serious Mexican cooks, but it’s probably the…
This recipe is as simple as its name, but an unforgettable discovery for a feta addict like me. If you open my fridge any day,…

Happy New Year! It’s been such a long time… I hope you are all doing well and haven’t completely forgotten about me! Have you also…

Normally, when I buy courgettes, peppers and aubergines (and tomatoes!) on the same market day, I instantly think of ratatouille (French vegetable stew), but last…

I am very proud to share with you my first improvised Thai curry paste! Since I started to cook from Thai Food by David Thompson, making…