
Bibimbap (literally “mixed rice”) is one of the most famous Korean dishes and – if you get rid of the “authenticity” complex – it can…
Bibimbap (literally “mixed rice”) is one of the most famous Korean dishes and – if you get rid of the “authenticity” complex – it can…

After several trips to Japan I learnt good gyoza aren’t easy to find in Tokyo. Maybe I was unlucky or maybe it’s Tokyo, but I…

I still hesitate if I should start my post with the Japanese croquettes (korokke), Sri Lankan “lamb rolls” or South-Indian seasoning… To make the explanations…

A very kind friend has recently offered me Our Korean Kitchen, a beautifully illustrated home cookery book written by Jordan Bourke and Rejina Pyo, an Irish-Korean…

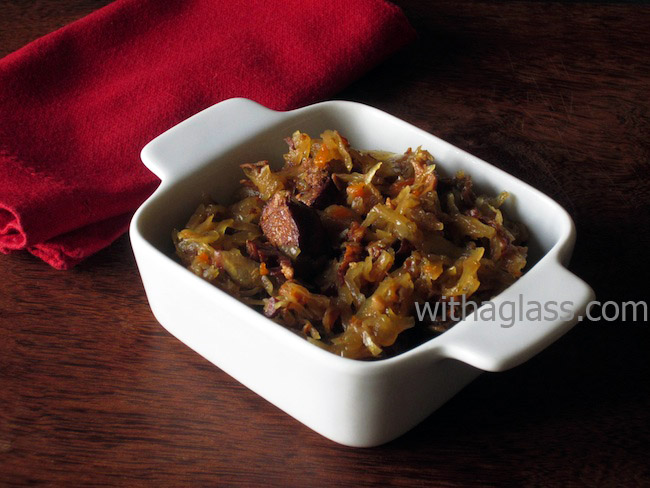
Beef and Carrot Stew is one of those pre-nouvelle cuisine era hearty dishes, difficult to find in restaurants and apparently also becoming rare home food. The…

Dill has been growing like crazy on my balcony, so use it now several times a week. Luckily, it’s one of my favourite herbs, so I cannot complain. Patties were…

Most of you probably regularly eat noodles and ground meat (not necessarily together), but would you ever think of combining them in a burger patty? I certainly…

Given my growing interest and experience in Korean cooking, the gimbap – making adventure was inevitable. Especially since last year, when I saw beautiful colourful rice rolls in…

Several years ago, on Wok with Ray, I saw a dish called “torta”. Ground meat in an omelette seemed both an ingenious and appetising idea, so I…
This humble looking stew is in my opinion the most magical Polish dish and one of the most amazing dishes in the world. Simmered for…