When I was younger I used to think of asparagus as an extremely fragile luxurious produce that had to be cooked as simply as possible,…
When I was younger I used to think of asparagus as an extremely fragile luxurious produce that had to be cooked as simply as possible,…

Happy New Year! It’s been such a long time… I hope you are all doing well and haven’t completely forgotten about me! Have you also…

Normally, when I buy courgettes, peppers and aubergines (and tomatoes!) on the same market day, I instantly think of ratatouille (French vegetable stew), but last…

In recent weeks I’ve had two several-day long family visits. Nowadays on such occasions (unless it’s a special party or celebration), I no longer cook…

I’ll never forget the moment I realised (watching Myna Street Food Youtube channel) the existence of delicious, creamy Indian curries with no trace of cream…

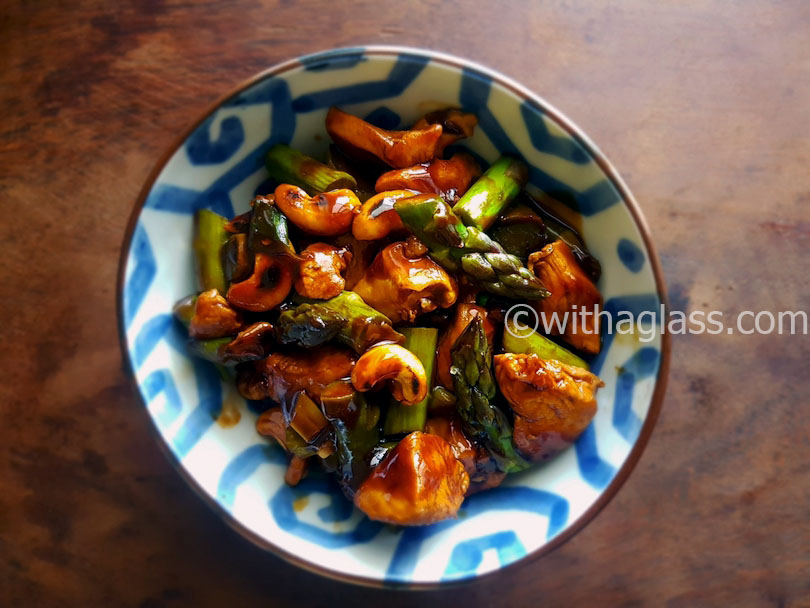
Leftover homemade curry paste, several asparagus spears, some chicken breast and a delicious 15-minute lunch for one was ready! If I had to wash and…

After several trips to Japan I learnt good gyoza aren’t easy to find in Tokyo. Maybe I was unlucky or maybe it’s Tokyo, but I…

This recipe might be very simple, but it solves a very serious question: “what else to do with a big tube of miso?”. Even if…

This messy-looking bowl is just a real-life, weekday example of the quickest Thai dish I cook all the time: dry noodles, some curry paste, vegetables…

Yesterday I found some old kimchi at the back of my fridge and prepared this delicious chicken stew. When I say “old”, I mean at…