
Will you be surprised if I say this salad is not hot? In spite of being obviously full of red chilli powder, it can be…
Will you be surprised if I say this salad is not hot? In spite of being obviously full of red chilli powder, it can be…

I have no idea if Ibiza island is known on other continents, but for us, Europeans, its name usually brings to mind bad techno music…
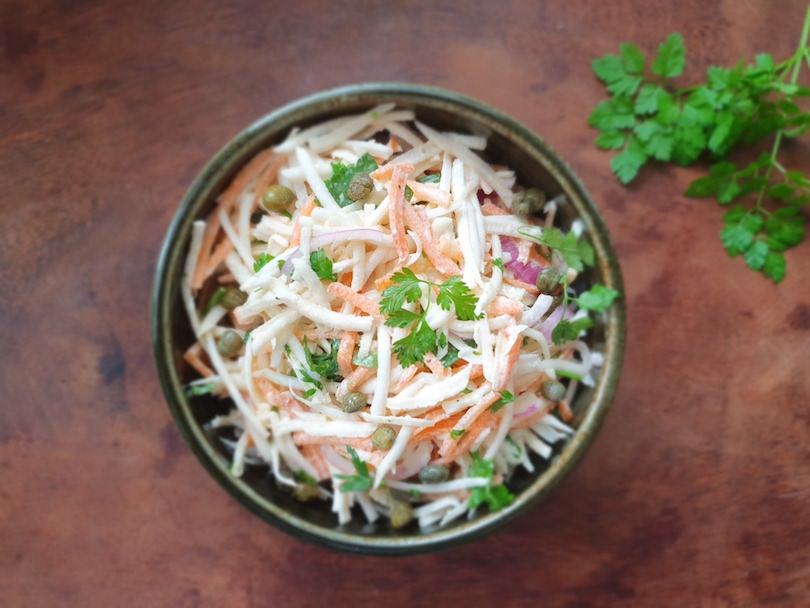
Another recipe inspired by this spring’s harvest from my balcony! Celeriac might be a winter/autumn vegetable, but this salad is fresh, crunchy, full of different…

Happy New Year! It’s been such a long time… I hope you are all doing well and haven’t completely forgotten about me! Have you also…

There are so many Japanese potato salad recipes on blogs and websites, often written by Japanese cooks, I hesitated a lot before posting it, but…

It’s only the beginning of May, but I already face the over-abundant herb “problem” with some perennial plants. Chives, mint, parsley, thyme and tarragon have…

Am I the only one who used to have a false idea of the famous Caesar salad? Until very recently, trusting my restaurant experience, I…

When I was a teenager this simple salad was all the rage. I guess its popularity was first of all due to the new vegetable:…
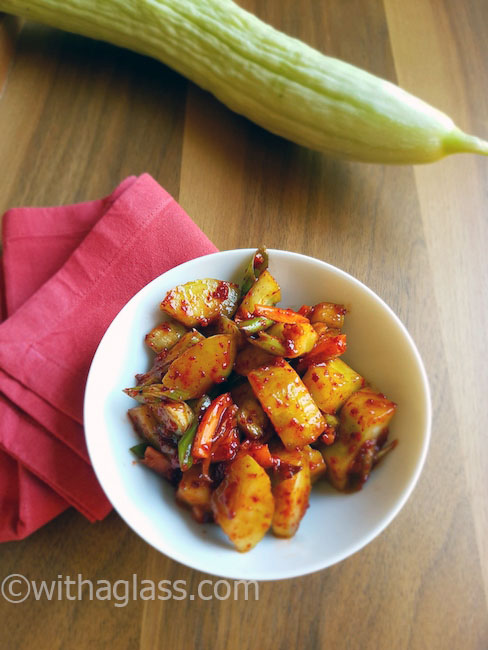
This is the most recent kimchi recipe in my collection, and, most of all, a short report on my recent vegetable – or rather a fruit – discovery. A week…

I thought this colourful raita might be like a ray of sunshine after a week of horribly cold rainy weather. The funny thing is that as soon as…