
Have you ever tasted ginkgo nuts? Ginkgo biloba tree has become famous all around the world for its health benefits, but it’s not widely known…
Have you ever tasted ginkgo nuts? Ginkgo biloba tree has become famous all around the world for its health benefits, but it’s not widely known…

I have been planning Egyptian falafels (or ta’ameya) for years, but dried fava beans, the main ingredient, were impossible to find. Finally, I bought them…

I was going to write on a completely different subject, but when I bought several heads of young garlic planning these fantastic pickles, I thought…

Will you be surprised if I say this salad is not hot? In spite of being obviously full of red chilli powder, it can be…

I was taking my Saturday morning coffee in bed (alright, I will be honest: it was closer to midday, but it was my wake up…

I’ve written several times about my adventures with okonomiyaki and I will probably never stop because I keep on inventing new versions and playing with…
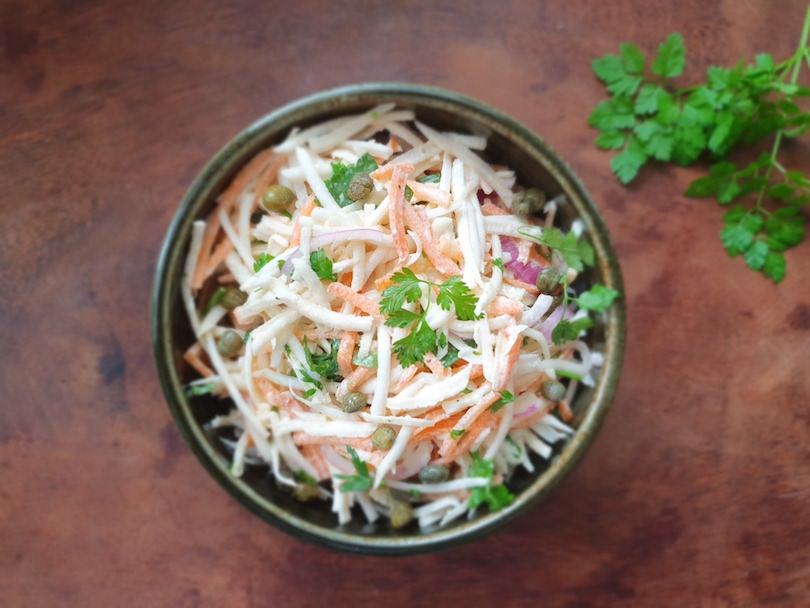
Another recipe inspired by this spring’s harvest from my balcony! Celeriac might be a winter/autumn vegetable, but this salad is fresh, crunchy, full of different…
I literally grew on dill (ubiquitous in Poland, it’s even more important than parsley), but never considered it much more than just an ordinary everyday…
This recipe is as simple as its name, but an unforgettable discovery for a feta addict like me. If you open my fridge any day,…

Normally, when I buy courgettes, peppers and aubergines (and tomatoes!) on the same market day, I instantly think of ratatouille (French vegetable stew), but last…