
I whined all summer about this year’s poor chilli harvest due to the horrible weather, but I’ve cheered up in recent weeks; with medium daytime…
I whined all summer about this year’s poor chilli harvest due to the horrible weather, but I’ve cheered up in recent weeks; with medium daytime…

Will you be surprised if I say this salad is not hot? In spite of being obviously full of red chilli powder, it can be…
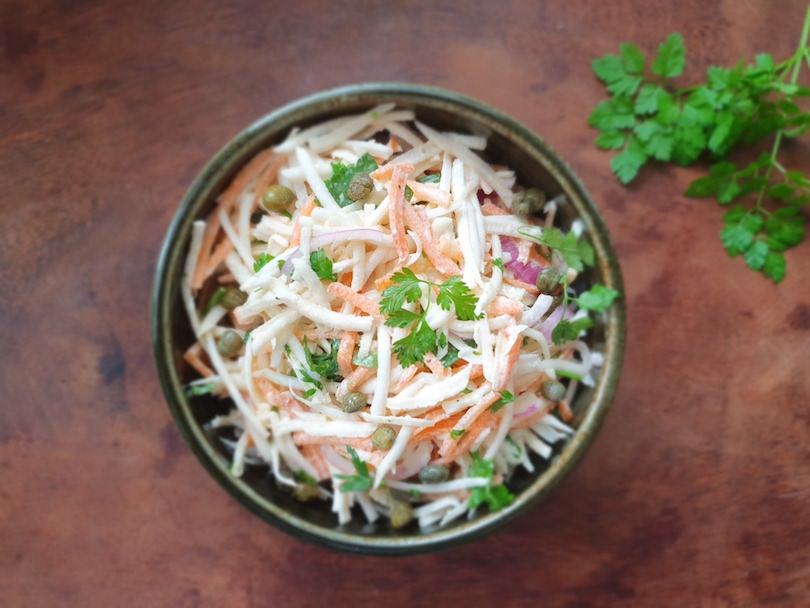
Another recipe inspired by this spring’s harvest from my balcony! Celeriac might be a winter/autumn vegetable, but this salad is fresh, crunchy, full of different…

Just like every summer, I find it difficult to resist fresh, beautiful vegetables at my farmers’ market and usually end up with huge amounts. Last…

Do you ever cook anything in the microwave? I mean from the scratch? For many years I used it only to reheat and defrost, probably…

Did you know not only the rhizome, but also wasabi stems and leaves are edible? I learnt it several years ago in an izakaya (a…

Am I the only one who used to have a false idea of the famous Caesar salad? Until very recently, trusting my restaurant experience, I…

When I was a teenager this simple salad was all the rage. I guess its popularity was first of all due to the new vegetable:…

This is my absolute number one red lentil dal and I’m particularly proud to share my enthusiasm with you because it’s my own improvisation, based…

If you think these pickles look and sound familiar, you are right: this is exactly the same recipe I posted seven months ago. I didn’t…